
Who doesn’t love a rich, indulgent treat that combines the crisp crunch of Butterfingers with the softness of a cupcake? This Butterfinger Poke cake Cupcake recipe is a game-changer. In this guide, I’ll take you through every step, from start to finish, so you can impress your friends and family with these irresistible cupcakes.
Get ready for a fun, rewarding baking experience. With just a few ingredients, you’ll create an unforgettable dessert. Whether you’re new to baking or a seasoned pro, this recipe is a delightful project that’s sure to impress.
Let’s dive in! Trust me, this recipe is perfect for anyone who enjoys easy-to-follow steps and a delicious outcome. You’re in for a treat.

What is a Butterfinger Poke cake Cupcake?
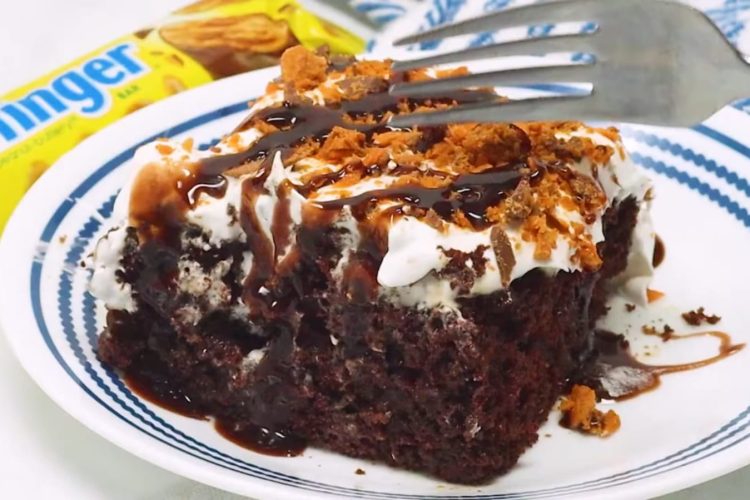
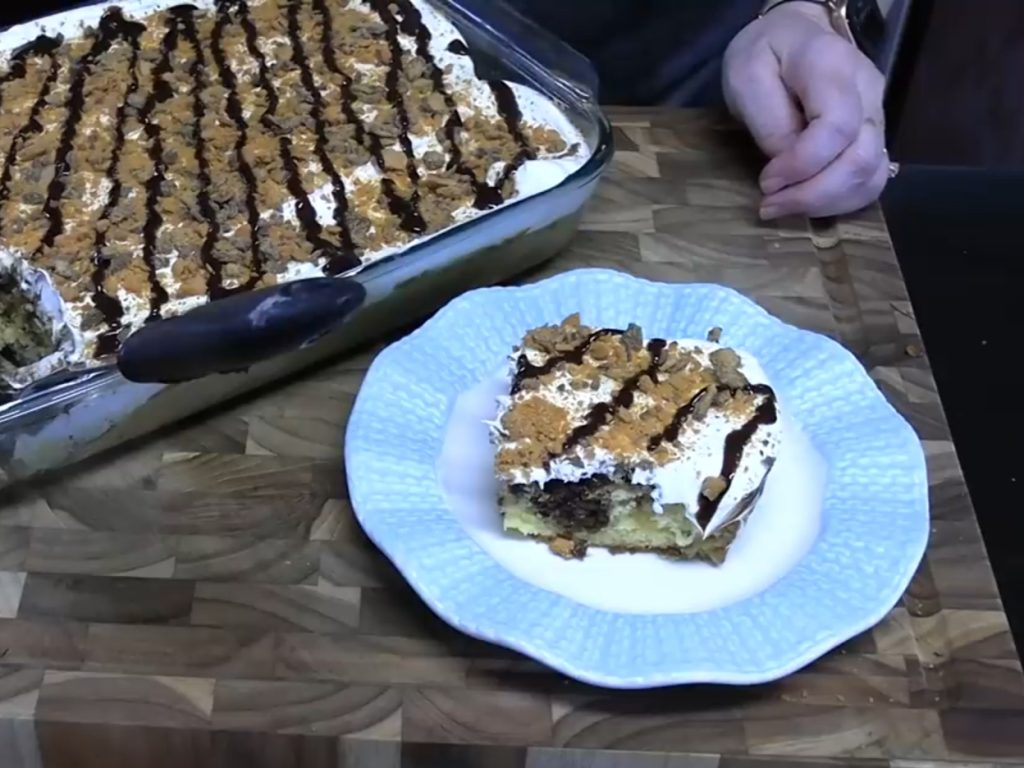
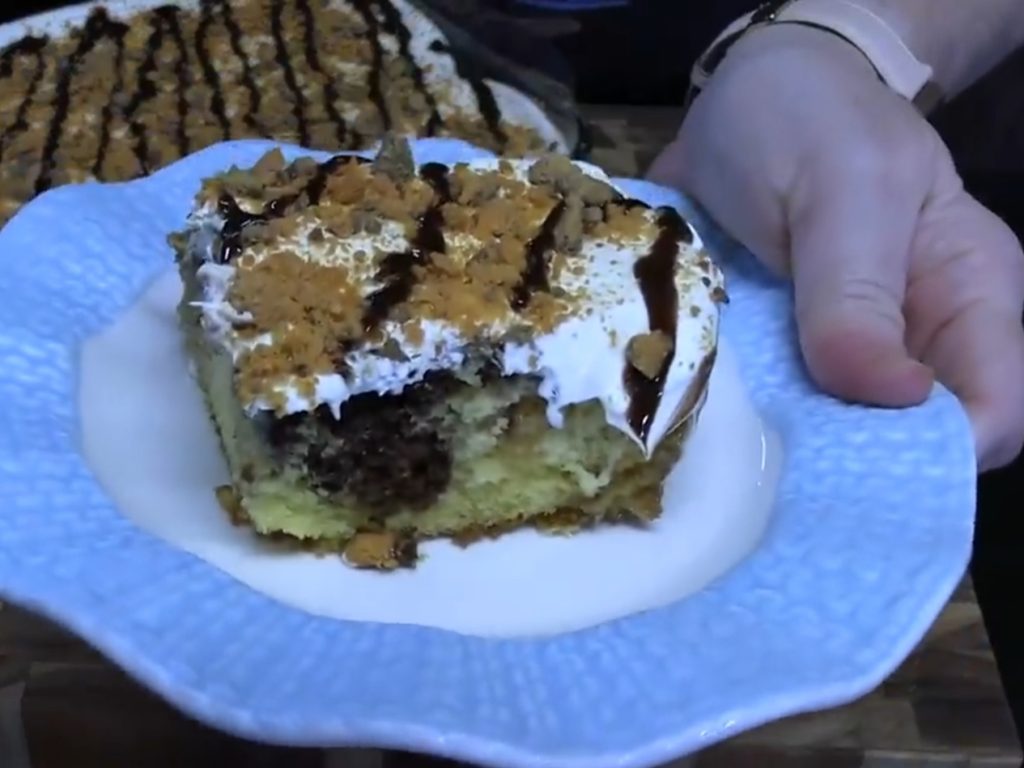
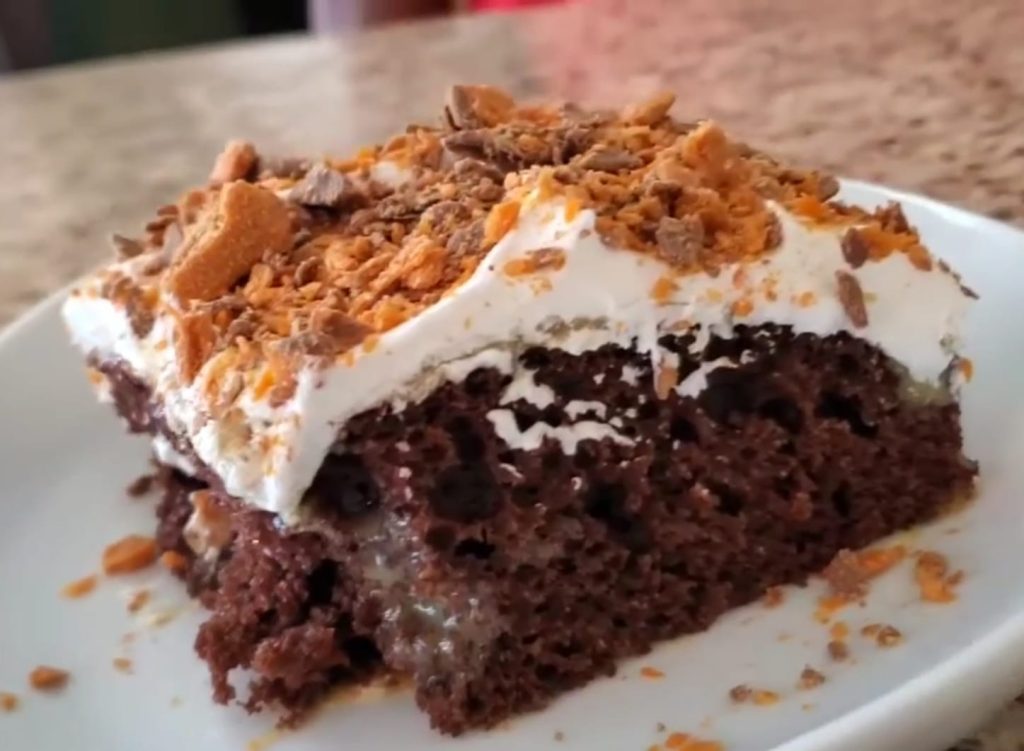
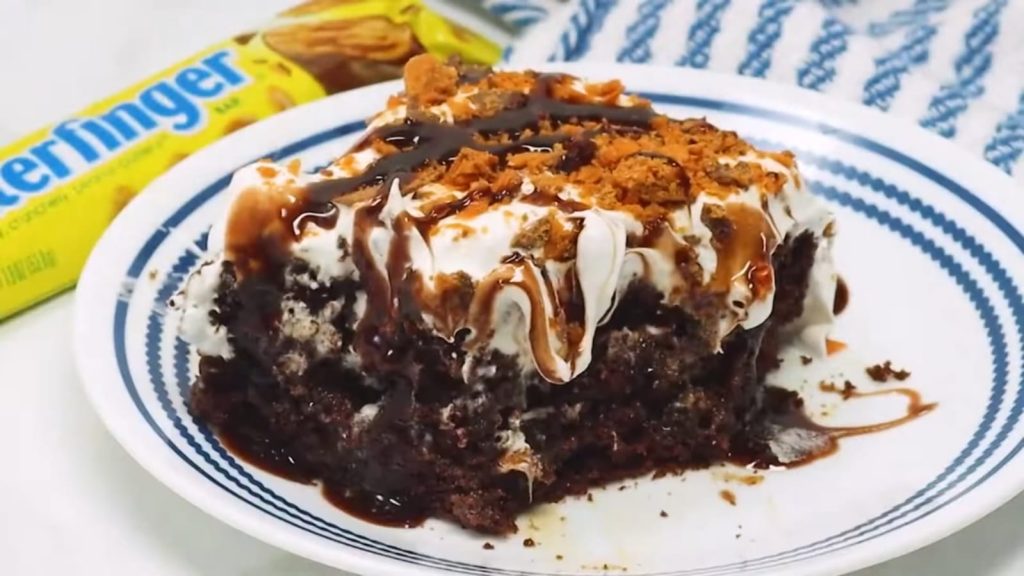
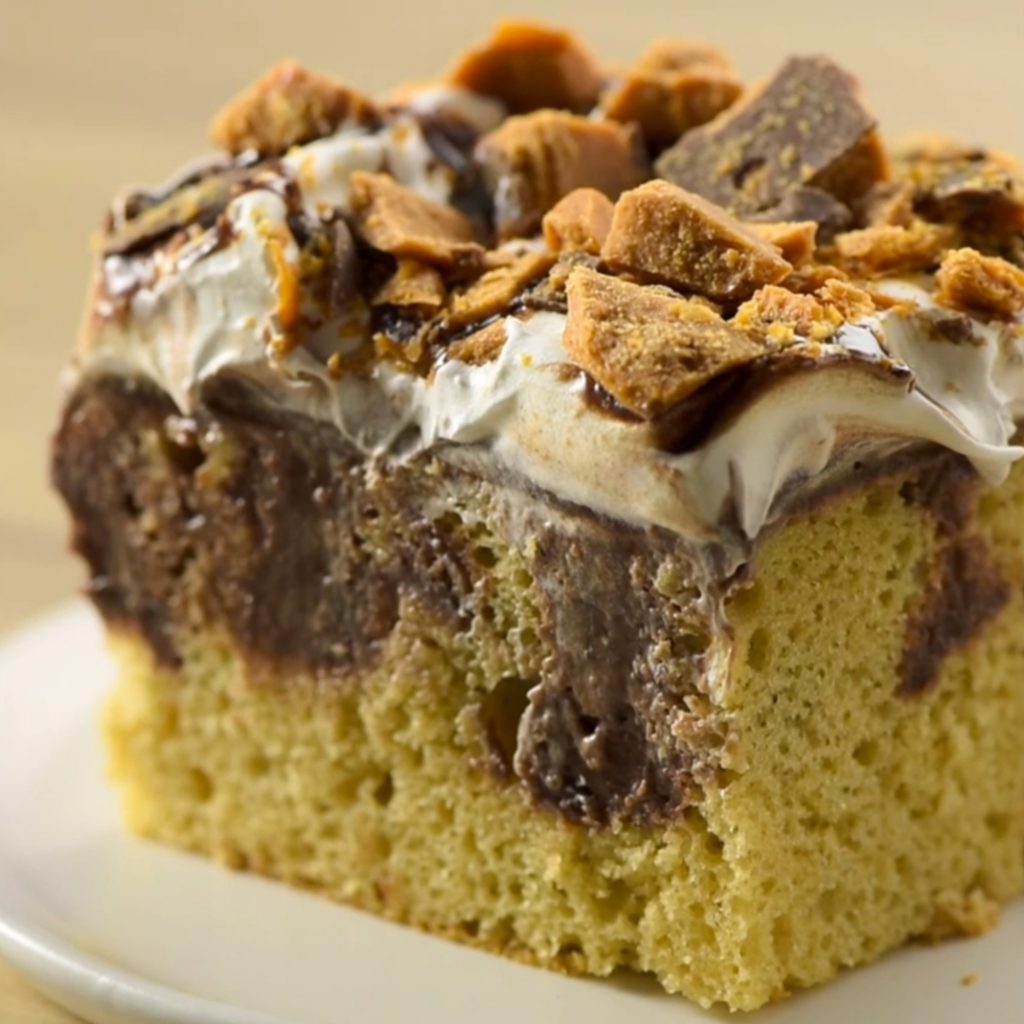
A Butterfinger Poke cake Cupcake is a delightful twist on your classic cupcake. It combines moist, soft cupcake layers with the irresistible crunch of Butterfingers, all topped with a gooey, decadent filling that’s poked right into the middle. This dessert is the perfect mix of cake and candy, and the surprise of a soft center and crunchy topping makes every bite a fun experience.
The beauty of this cupcake lies in its simplicity and the satisfaction of sinking your fork into it. It’s a recipe that doesn’t require fancy techniques but offers that “wow” factor every time.
Materials Needed
To make these Butterfinger Poke cake Cupcakes, here’s what you’ll need:
| Ingredient | Quantity |
|---|---|
| Butter | 1/2 cup (softened) |
| Granulated Sugar | 3/4 cup |
| Eggs | 2 large |
| Vanilla Extract | 1 tsp |
| All-Purpose Flour | 1 1/2 cups |
| Baking Powder | 1 tsp |
| Salt | 1/4 tsp |
| Whole Milk | 1/2 cup |
| Butterfinger Bars | 3 (crushed) |
| Caramel Sauce | 1/4 cup |
| Chocolate Chips | 1/4 cup |
Step-by-Step Recipe
Step 1: Preheat the Oven
First, preheat your oven to 350°F (175°C). This ensures the cupcakes bake evenly and come out perfectly. Line your muffin tin with cupcake liners, or grease them if you prefer.
Step 2: Prepare the Batter
In a large bowl, cream the softened butter and sugar together until light and fluffy. You can use a hand mixer for this, or just mix it by hand with a spoon—either way, make sure it’s well combined. Add the eggs one at a time, mixing well after each addition. Stir in the vanilla extract.
Step 3: Add the Dry Ingredients
In a separate bowl, whisk together the flour, baking powder, and salt. Slowly add this dry mixture to the wet ingredients in small portions, alternating with the milk. Begin and end with the dry ingredients. Mix just until combined. Over-mixing can lead to dense cupcakes, so stop once everything is just incorporated.
Step 4: Add Butterfinger Crunch
Now, fold in the crushed Butterfinger pieces. I like to save a little bit for topping later, but that’s totally up to you. The Butterfinger pieces will provide that satisfying crunch in every bite.
Step 5: Bake the Cupcakes
Scoop the batter into your prepared muffin tin, filling each liner about 2/3 full. Bake for 18-22 minutes or until a toothpick inserted into the center comes out clean. Remove from the oven and let them cool for a few minutes in the tin before transferring them to a wire rack to cool completely.
Step 6: Make the Poke cake Center
Once your cupcakes have cooled, it’s time to create the “poke” effect. Use the back of a spoon or a cupcake corer to gently make a hole in the center of each cupcake. Be careful not to poke all the way through the bottom.
Step 7: Fill the Cupcakes
Drizzle a little bit of caramel sauce into the hole you’ve created. Then, top with a few more crushed Butterfingers. This gives each bite an extra surprise!
Step 8: Add the Chocolate Topping
Melt some chocolate chips in the microwave or over a double boiler. Drizzle the melted chocolate over the top of the cupcakes. If you have some leftover crushed Butterfingers, sprinkle them on top for that extra crunch.
Tips for Success
- Don’t Overmix the Batter: Mix the wet and dry ingredients until just combined. Over-mixing can cause dense cupcakes.
- Use Room Temperature Ingredients: Room temperature butter, eggs, and milk incorporate better, leading to a smoother batter.
- Let the Cupcakes Cool Completely: Before filling with caramel and chocolate, ensure the cupcakes are completely cooled to avoid melting the fillings.
Common Mistakes and How to Avoid Them
- Not Letting the Cupcakes Cool: This can cause the filling to melt too quickly or create a soggy texture.
- How to Avoid: Be patient and let the cupcakes cool for at least 30 minutes.
- Overfilling the Cupcake Liners: Overfilled liners can cause your cupcakes to overflow.
- How to Avoid: Only fill the liners about 2/3 full for perfect rising.
- Too Much Filling: It’s easy to get excited and overdo it with the caramel or chocolate, but too much can make the cupcake messy and harder to eat.
- How to Avoid: Stick to a small drizzle of caramel and a thin layer of chocolate for the perfect balance.
Similar Variations You Can Make
- Peanut Butter Butterfinger Cupcakes: Add a dollop of peanut butter to the caramel center for an extra creamy surprise.
- Chocolate Cupcakes: Swap out the vanilla cupcake base for a chocolate version if you’re a true chocolate lover.
- Nutty Topping: For more crunch, sprinkle chopped peanuts on top of the Butterfinger topping.
FAQs
Q: Can I make these cupcakes ahead of time?
A: Yes, these cupcakes store well in an airtight container for up to 3 days. You can also freeze them for up to a month before adding the filling and toppings.
Q: Can I use a different candy instead of Butterfinger?
A: Absolutely! You can substitute Butterfinger with other candies like Snickers or Milky Way for a different flavor twist.
Q: Can I make this recipe gluten-free?
A: Yes, you can use a gluten-free flour blend as a substitute for all-purpose flour to make these cupcakes gluten-free.
Conclusion
Making Butterfinger Poke cake Cupcakes is more than just a baking task—it’s a fun and rewarding experience. With simple ingredients and a few easy steps, you can create a treat that’s both fun and delicious. So, go ahead, grab your baking tools, and get ready to enjoy these scrumptious cupcakes with your family and friends!
Remember, the key to success is patience and precision, but the result will be well worth it!

Discover more from Treats Treasure
Subscribe to get the latest posts sent to your email.