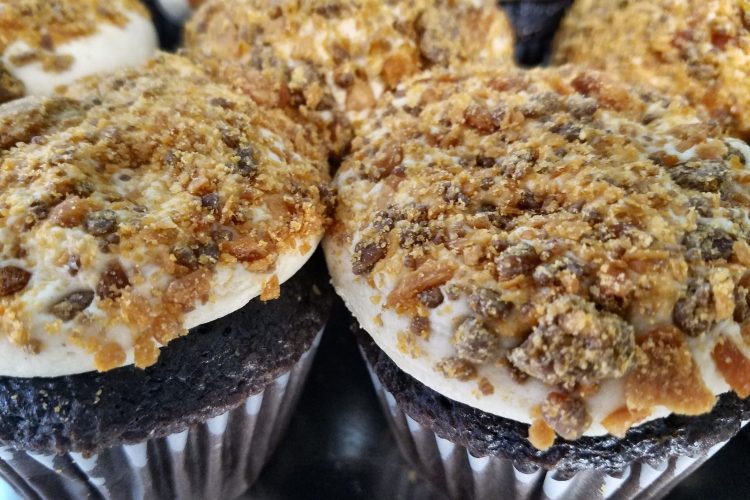
Hey, dessert lovers! Today, we’re diving into the irresistible world of Butterfinger Cheesecake Cupcakes. Imagine creamy, tangy cheesecake with a crunchy, peanut-buttery surprise – all wrapped in a perfectly soft cupcake. Ready to make these dreamy bites? Trust me, it’s an exciting journey from start to finish!
Let’s talk about these cupcakes. They’re the perfect fusion of two classic treats: cheesecake and Butterfingers. The creamy cheesecake filling blends beautifully with the crunch and sweetness of the Butterfinger candy, creating a bite-sized delight that everyone will rave about. Whether you’re a beginner baker or a pro in the kitchen, these cupcakes will spark joy at every step.
Not only will I guide you through the recipe, but I’ll also share tips, tricks, and variations to elevate your baking game. Let’s get started!
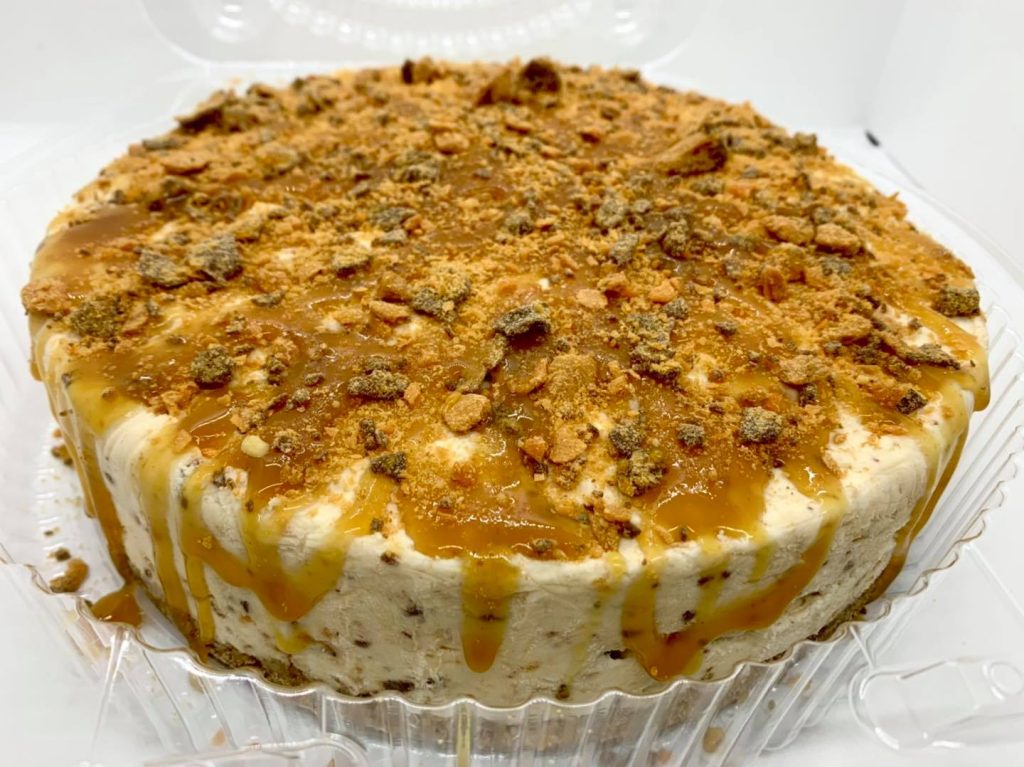
What Are Butterfinger Cheesecake Cupcakes?
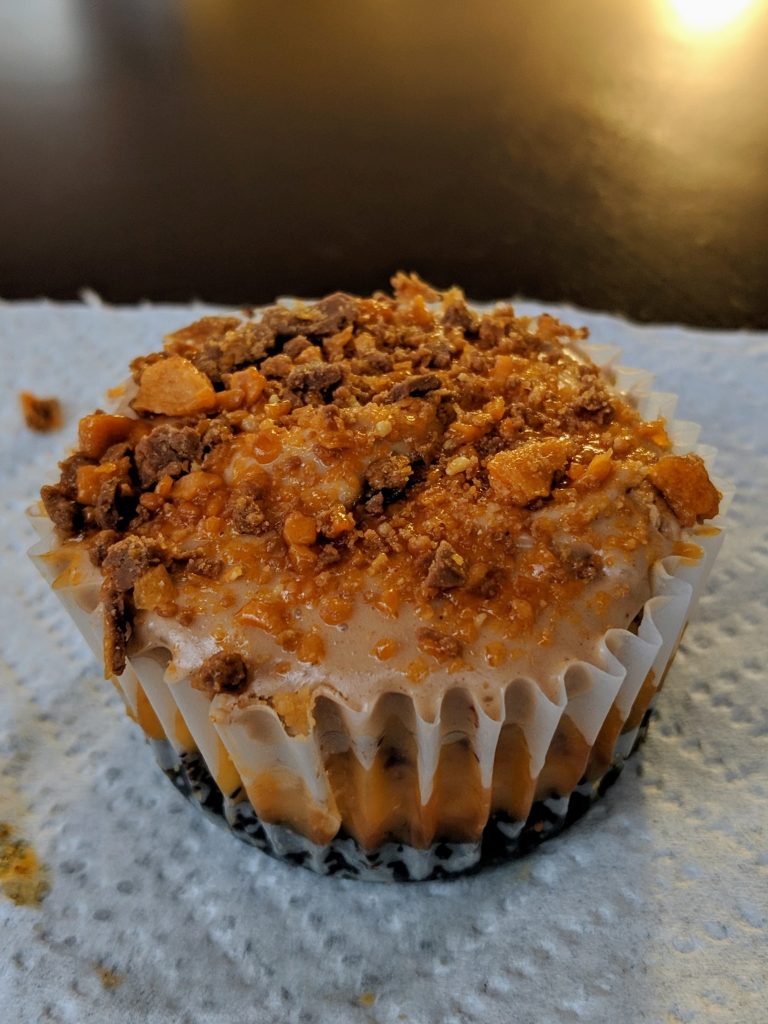
Butterfinger Cheesecake Cupcakes combine the best of two worlds: rich, creamy cheesecake and the crunch of Butterfinger candy. These cupcakes are a fun twist on the traditional cheesecake, offering individual servings in a cupcake form. Each bite is filled with smooth cheesecake topped with bits of Butterfinger candy and a hint of peanut butter flavor.
If you’re wondering about the texture, it’s heavenly – a delicate, soft cupcake base, a luscious cheesecake center, and a delightful Butterfinger crunch that adds both sweetness and texture.
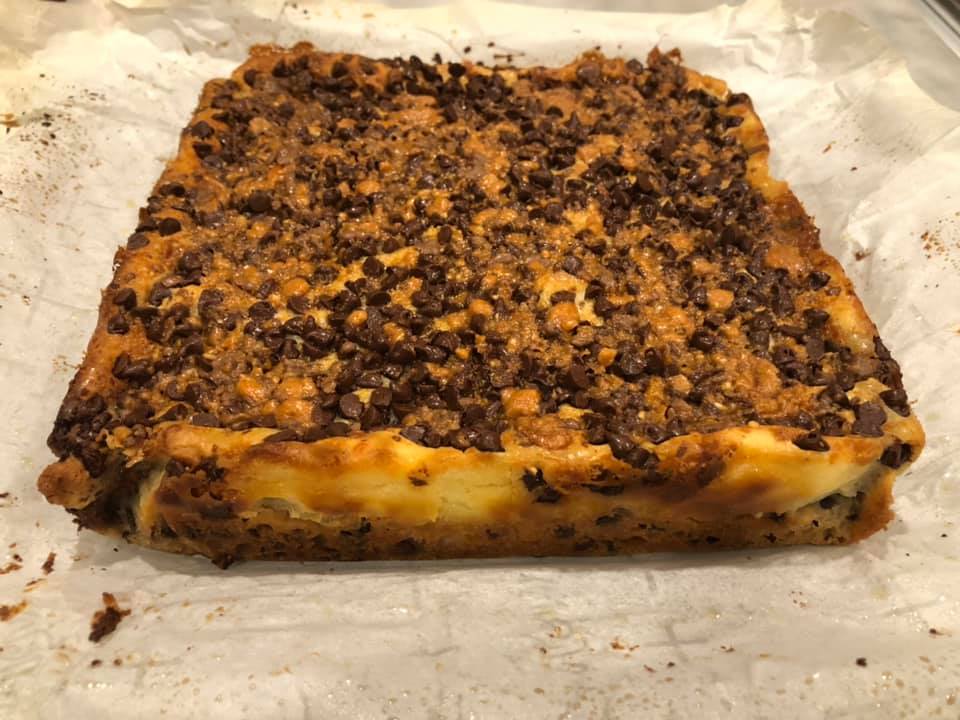
Key Terms Explained:
- Butterfinger: A crunchy candy bar made from peanut butter, sugar, and chocolate, known for its signature taste.
- Cheesecake: A creamy dessert made with cream cheese, eggs, and sugar, often served on a biscuit or cookie crust.
- Cupcake Base: A small cake baked in a paper liner, often used as the foundation for various toppings and fillings.
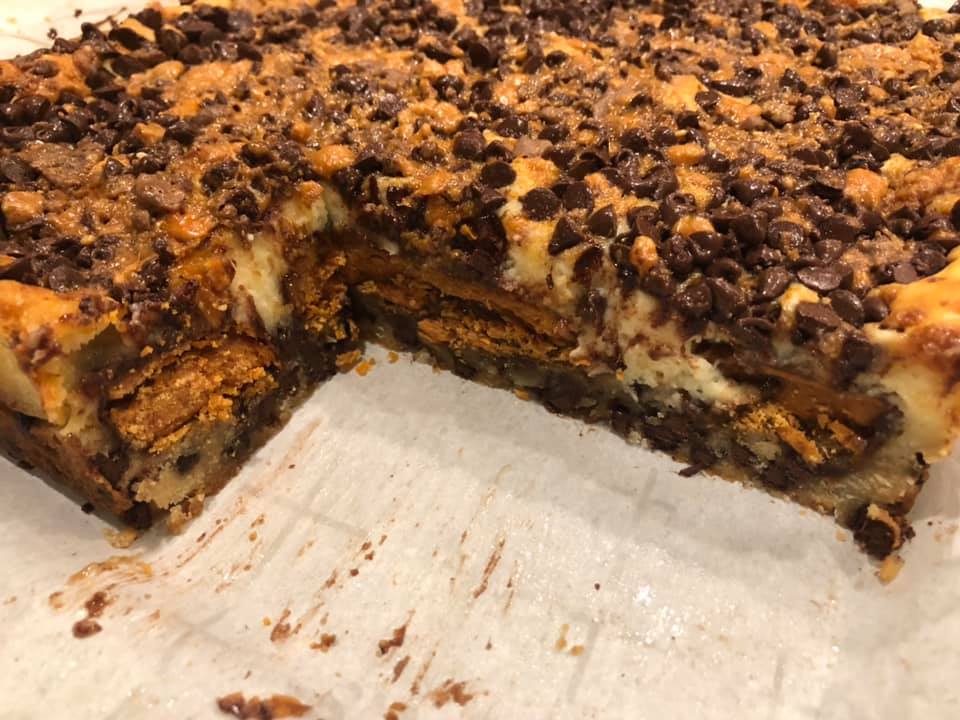
Materials Needed
Here’s everything you’ll need to make these cupcakes from scratch:
| Ingredient | Quantity | Notes |
|---|---|---|
| Butterfinger Bars | 2 bars | Crushed for topping and filling |
| Cream Cheese | 16 oz (2 packages) | Softened |
| Granulated Sugar | 1 cup | For sweetness in the cheesecake mix |
| Eggs | 2 large | To help set the cheesecake filling |
| Sour Cream | 1/4 cup | Adds creaminess to the cheesecake |
| Vanilla Extract | 1 tsp | For flavor |
| Graham Cracker Crumbs | 1 cup | For the cupcake base |
| Butter (unsalted) | 1/4 cup | Melted, for the crust |
| All-purpose Flour | 1/2 cup | For the cupcake base |
| Baking Powder | 1 tsp | Helps the base rise |
| Milk | 1/4 cup | To moisten the cupcake base |
| Butterfinger Candy (for topping) | 2 bars | Crushed, for topping and mixing into filling |
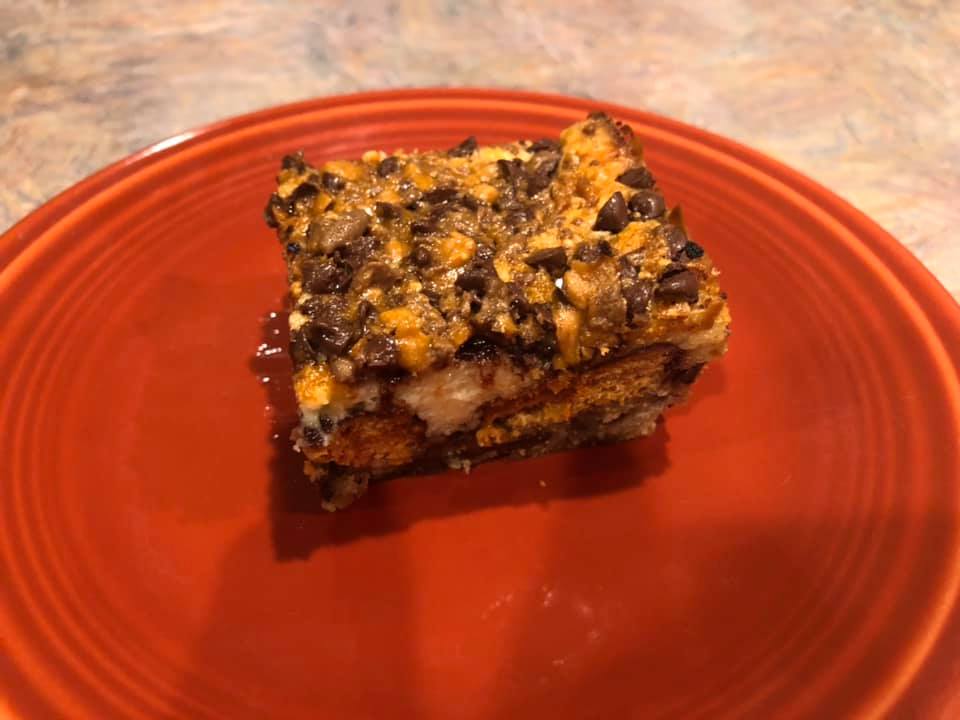
Tips for Success
- Cream Cheese Softness: Make sure your cream cheese is soft before mixing. This helps achieve a smooth, lump-free filling.
- Crush Butterfingers Well: Crush the Butterfinger bars into small pieces to ensure you get that perfect crunch in every bite.
- Don’t Overmix the Batter: Mix just until combined to avoid dense cupcakes.
- Cool the Cupcakes Completely: Let the cupcakes cool fully before frosting to avoid melting the cheesecake filling.
How to Make Butterfinger Cheesecake Cupcakes
Step 1: Prepare the Cupcake Base
First, let’s get that delicious base ready. In a medium-sized bowl, combine your graham cracker crumbs, flour, and baking powder. Add the melted butter and mix until it forms a slightly wet mixture. Divide this mixture evenly into a cupcake tin lined with paper liners.
- Press the mixture gently with a spoon to compact it. This will be the firm, crunchy base that holds the cheesecake filling.
Step 2: Make the Cheesecake Filling
Now, let’s make that smooth cheesecake filling! In a mixing bowl, beat the cream cheese, sour cream, and granulated sugar until smooth. Add in the eggs one at a time, mixing after each. Finally, stir in the vanilla extract and crushed Butterfingers.
- The mixture should be smooth and creamy, with little chunks of candy for that delightful crunch.
Step 3: Bake and Cool
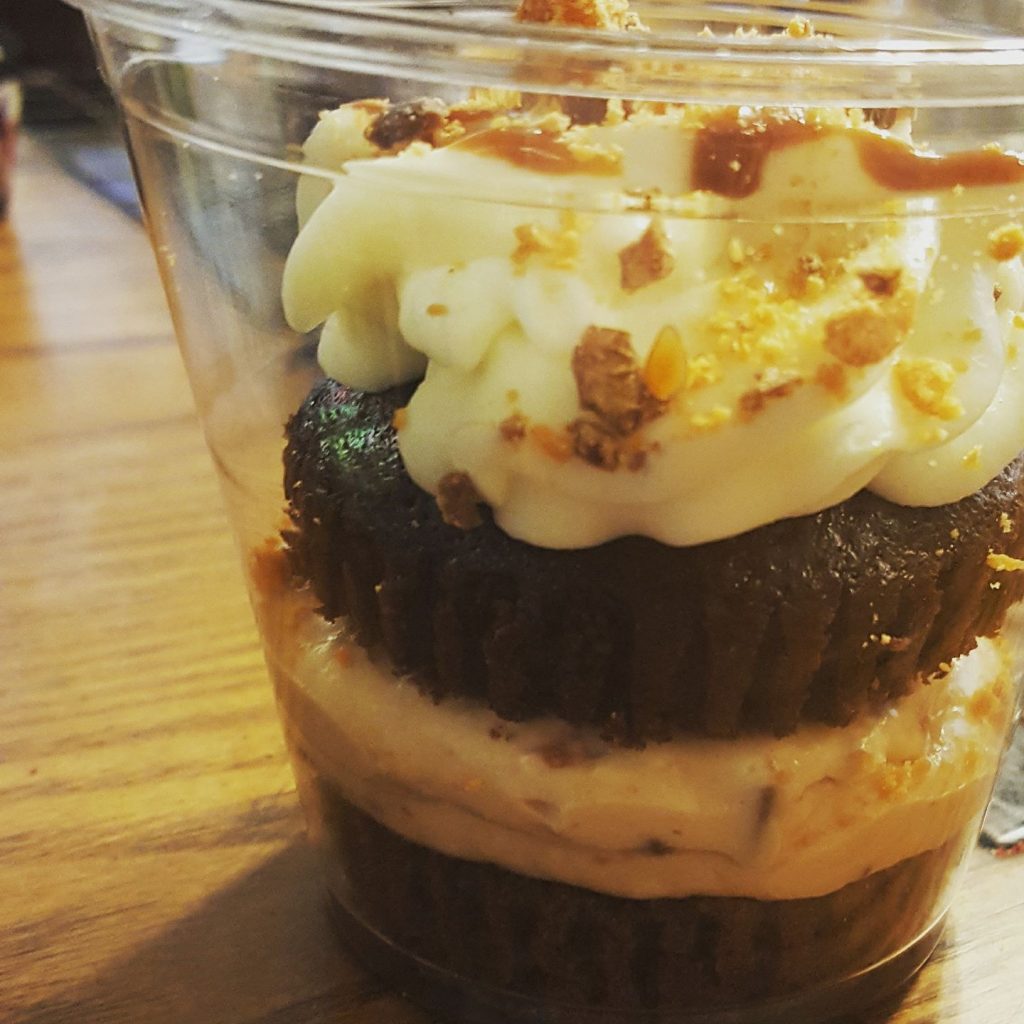
Spoon the cheesecake filling on top of the graham cracker base, filling each cupcake liner about 3/4 full. Bake in a preheated oven at 325°F (163°C) for about 18-20 minutes or until the center is just set. The cheesecake should jiggle slightly but not be too wobbly.
- Let the cupcakes cool in the tin for 10 minutes, then transfer them to a wire rack to cool completely. It’s important to let them cool before adding the topping!
Step 4: Top with Crushed Butterfingers
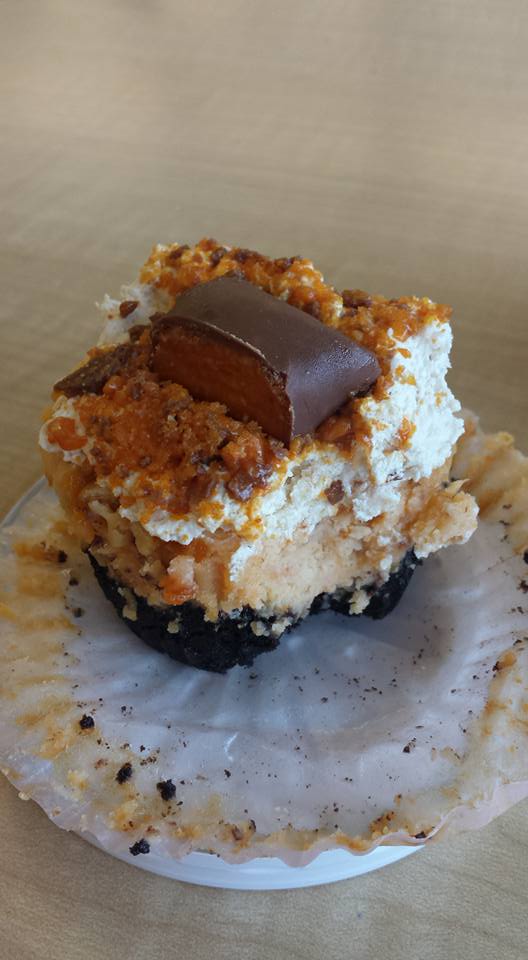
Once the cupcakes are completely cool, sprinkle the top with more crushed Butterfinger pieces. You can even add a small drizzle of peanut butter or chocolate syrup if you want to take it to the next level.
- This step adds that satisfying crunch and sweetness you’re craving.
Common Mistakes and How to Avoid Them
- Overmixing the Batter: Mixing too much can make the cupcakes dense. Stir until just combined!
- Not Letting the Cupcakes Cool: If you add the topping while the cupcakes are still warm, it can melt into the cheesecake filling. Be patient, and let them cool.
- Underbaking: These cupcakes should be slightly firm in the center. If they’re too jiggly, they need a bit more time.
Similar Variations You Can Try
- Chocolate Chip Cheesecake Cupcakes: Swap out the Butterfingers for chocolate chips for a different flavor combo.
- Peanut Butter Cheesecake Cupcakes: Use a peanut butter-based filling, topped with crushed peanuts.
- Mini Cheesecake Bites: Instead of cupcakes, make mini cheesecake bites using a mini muffin tin.
FAQs
Q: Can I make these cupcakes ahead of time?
A: Yes, you can bake and cool them a day or two ahead of time. Just store them in an airtight container in the fridge.
Q: Can I freeze these cupcakes?
A: Absolutely! You can freeze them before or after adding the topping. Just be sure to wrap them tightly in plastic wrap and store in a freezer-safe bag.
Q: Can I use store-bought crust for the base?
A: If you’re short on time, a store-bought graham cracker crust will work fine, though I recommend homemade for the best flavor and texture.
Conclusion
In conclusion, making Butterfinger Cheesecake Cupcakes is a fun, rewarding project that results in a delicious treat perfect for any occasion. Whether you’re a beginner or a seasoned baker, this recipe will make you feel like a pro. I hope you enjoyed this step-by-step guide and that you’ll give it a try in your kitchen soon!
Let me know how it turns out or if you have any tips of your own to share – I’d love to hear your feedback!
Discover more from Treats Treasure
Subscribe to get the latest posts sent to your email.

