
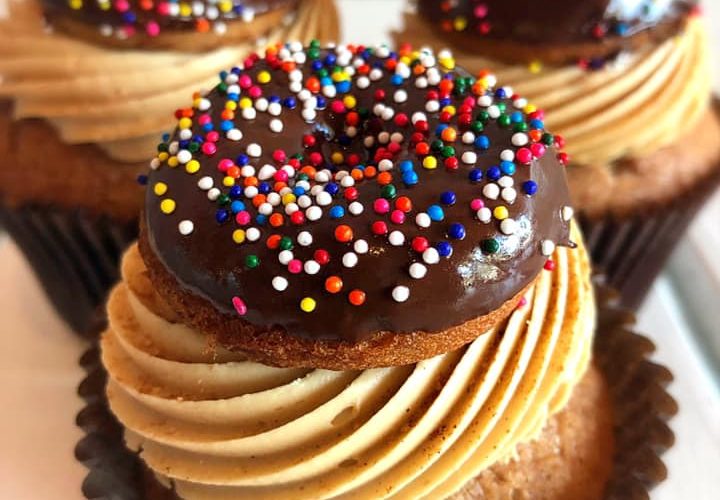
Chocolate coffee cream cupcakes are the perfect combination of rich chocolate and aromatic coffee. They offer a decadent treat that’s both comforting and indulgent. Whether you’re a baking newbie or an experienced chef, this recipe will guide you step-by-step through the delicious process of creating these mouthwatering cupcakes.
What We’re Making: Chocolate Coffee Cream Cupcakes
When you think of the ultimate dessert, cupcakes might come to mind. But chocolate coffee cream cupcakes? They take it to a whole new level. The combination of dark chocolate, aromatic coffee, and creamy frosting creates an irresistible treat that can make anyone’s day brighter. The fluffy chocolate cake paired with the creamy coffee-infused frosting is a match made in heaven.
Let’s dive into this mouthwatering recipe and create a batch that’ll impress both friends and family.
Materials Needed
To make these chocolate coffee cream cupcakes, you’ll need some essential ingredients and tools. Here’s a handy list to gather everything you need before you start baking.
Ingredients:
| Ingredient | Quantity |
|---|---|
| All-purpose flour | 1 ½ cups |
| Unsweetened cocoa powder | ½ cup |
| Baking soda | 1 tsp |
| Salt | ¼ tsp |
| Butter (softened) | ½ cup (1 stick) |
| Granulated sugar | 1 cup |
| Brown sugar | ¼ cup |
| Eggs | 2 large |
| Vanilla extract | 1 tsp |
| Coffee (brewed and cooled) | ½ cup |
| Buttermilk | ½ cup |
| Hot water | ½ cup |
For the Coffee Cream Frosting:
| Ingredient | Quantity |
|---|---|
| Powdered sugar | 2 cups |
| Butter (softened) | ½ cup |
| Coffee (strong brewed) | 2 tbsp |
| Vanilla extract | 1 tsp |
| Heavy cream | 2 tbsp |
Step-by-Step Guide to Making Chocolate Coffee Cream Cupcakes
Let’s break down the process of making these cupcakes. Don’t worry – it’s simple, and I’ll walk you through it!
1. Prepare the Oven and Cupcake Pan
- Preheat your oven to 350°F (175°C).
- Line your cupcake pan with cupcake liners. This will help prevent sticking and make cleanup easier.
2. Make the Chocolate Cake Batter
- Sift dry ingredients: In a large bowl, sift together the all-purpose flour, cocoa powder, baking soda, and salt.
- Cream butter and sugars: In another bowl, use a hand mixer or stand mixer to cream the butter with granulated sugar and brown sugar until it’s light and fluffy.
- Add eggs and vanilla: Beat in the eggs, one at a time, followed by the vanilla extract.
- Combine coffee and buttermilk: In a separate bowl, whisk together the brewed coffee and buttermilk. Gradually add this mixture to the wet ingredients, alternating with the dry ingredients. Mix until just combined.
- Add hot water: Slowly pour in the hot water and stir to incorporate. This will help make the batter smooth and a bit runny.
3. Bake the Cupcakes
- Fill each cupcake liner about 2/3 full with batter.
- Bake for 18-20 minutes, or until a toothpick inserted into the center comes out clean.
- Allow the cupcakes to cool in the pan for 5 minutes, then transfer to a wire rack to cool completely.
Tips for Success
To make sure your chocolate coffee cream cupcakes turn out perfectly every time, here are some tips to keep in mind:
- Measure ingredients accurately: Baking is a science, so measuring ingredients properly is key to getting the right texture and flavor.
- Don’t overmix the batter: Overmixing can lead to dense cupcakes, so mix until just combined.
- Use brewed coffee, not instant coffee: Freshly brewed coffee will give you the best flavor, so avoid using instant coffee for this recipe.
Common Mistakes and How to Avoid Them
There are a few common mistakes people make when baking cupcakes. Here’s how to avoid them:
- Overbaking the cupcakes: If you bake the cupcakes for too long, they will be dry. Check them at the 18-minute mark to ensure they’re baked to perfection.
- Not letting the cupcakes cool completely: If the cupcakes are too warm when you frost them, the frosting can melt. Let them cool fully before frosting.
- Not using room temperature butter and eggs: Cold ingredients can cause the batter to become lumpy, so be sure your butter and eggs are at room temperature before starting.
Coffee Cream Frosting: The Finishing Touch
Now, let’s talk about the best part – the frosting! Here’s how to make the luscious coffee cream frosting.
1. Prepare the Frosting
- In a bowl, beat the softened butter until smooth and creamy.
- Gradually add the powdered sugar, beating until light and fluffy.
- Add the brewed coffee, vanilla extract, and heavy cream, and continue to mix until the frosting is smooth and spreadable.
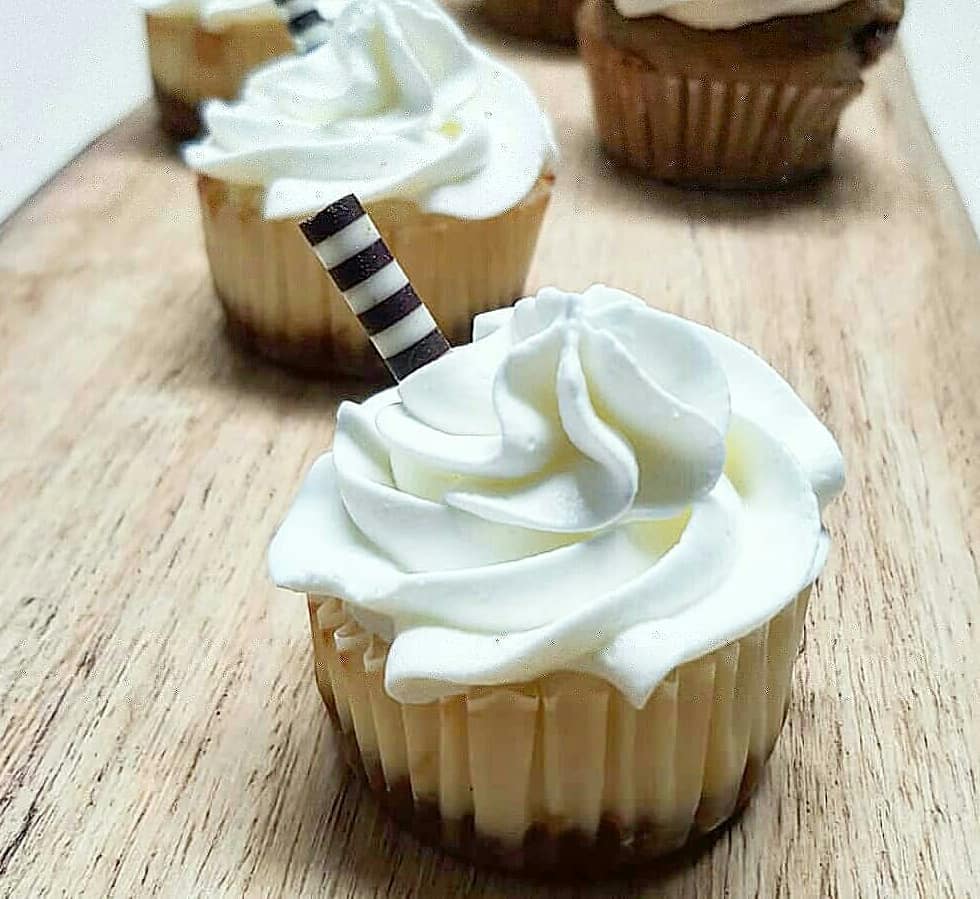
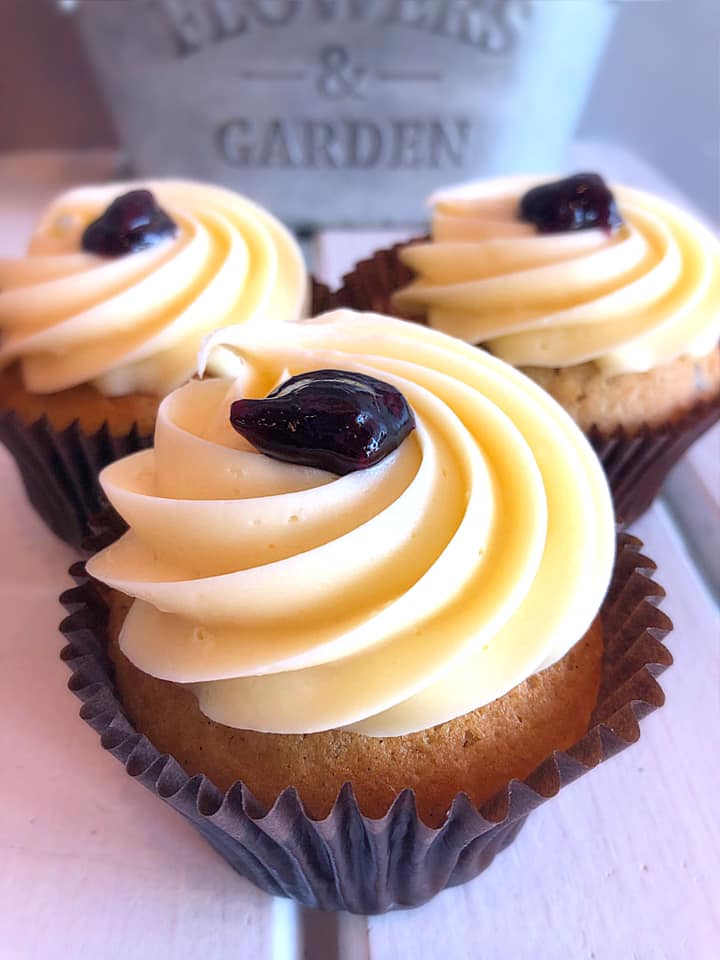
2. Frost the Cupcakes
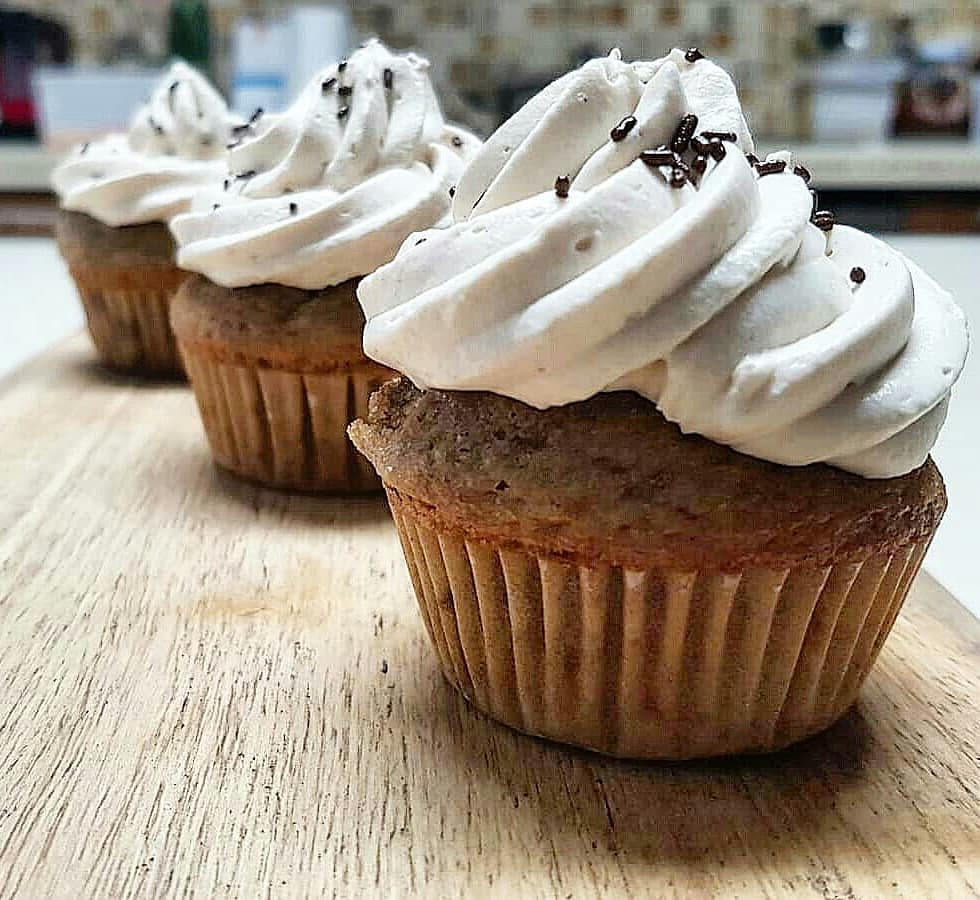
- Once the cupcakes are completely cooled, use a piping bag or a spatula to frost each cupcake generously with the coffee cream frosting.
- For a more decorative touch, you can sprinkle a little cocoa powder or finely ground coffee on top.
Variations You Can Try
Want to make these cupcakes your own? Here are a few variations you can try:
- Add a chocolate ganache drizzle: After frosting, drizzle some melted chocolate ganache over the cupcakes for extra indulgence.
- Use flavored coffee: Try flavored coffee for a unique twist, like hazelnut or caramel.
- Make it a mini cake: Instead of cupcakes, bake the batter in a small cake pan and frost it as a single cake.
FAQs
How can I make these cupcakes without coffee?
You can replace the brewed coffee with an equal amount of milk or water for a coffee-free version.
Can I use regular frosting instead of coffee cream frosting?
Absolutely! You can use any frosting you like, but the coffee cream frosting really complements the chocolate flavor of the cupcakes.
How do I store these cupcakes?
Store your cupcakes in an airtight container at room temperature for up to 3 days. If you want to keep them longer, refrigerate them for up to a week.
Conclusion
Making chocolate coffee cream cupcakes is a fun and rewarding experience. With the right ingredients, tools, and a bit of patience, you can create a treat that’s sure to impress. These cupcakes are perfect for any occasion – from casual get-togethers to special celebrations. Now, it’s time to get in the kitchen and start baking! Enjoy the process and, of course, the delicious results.