
Are you craving a treat that’s as sweet as it is satisfying? Imagine biting into a cupcake with a rich, creamy filling and a layer of crispy Butterfinger crunch. In this guide, I’ll show you how to create a Butterfinger cupcake with filling that will take your baking skills to the next level.
Whether you’re a beginner or an experienced baker, this recipe will delight your taste buds. Step-by-step, I’ll walk you through the process, ensuring you master each layer of flavor and texture. Ready to get started? Let’s dive into this delicious adventure!
What Is a Butterfinger Cupcake?
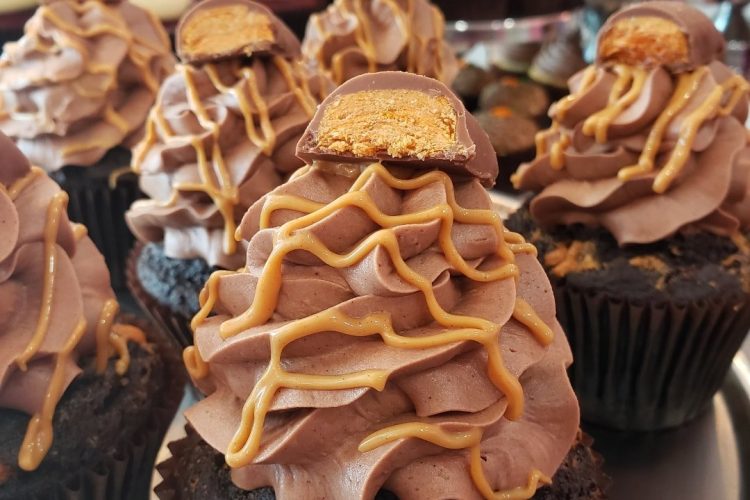
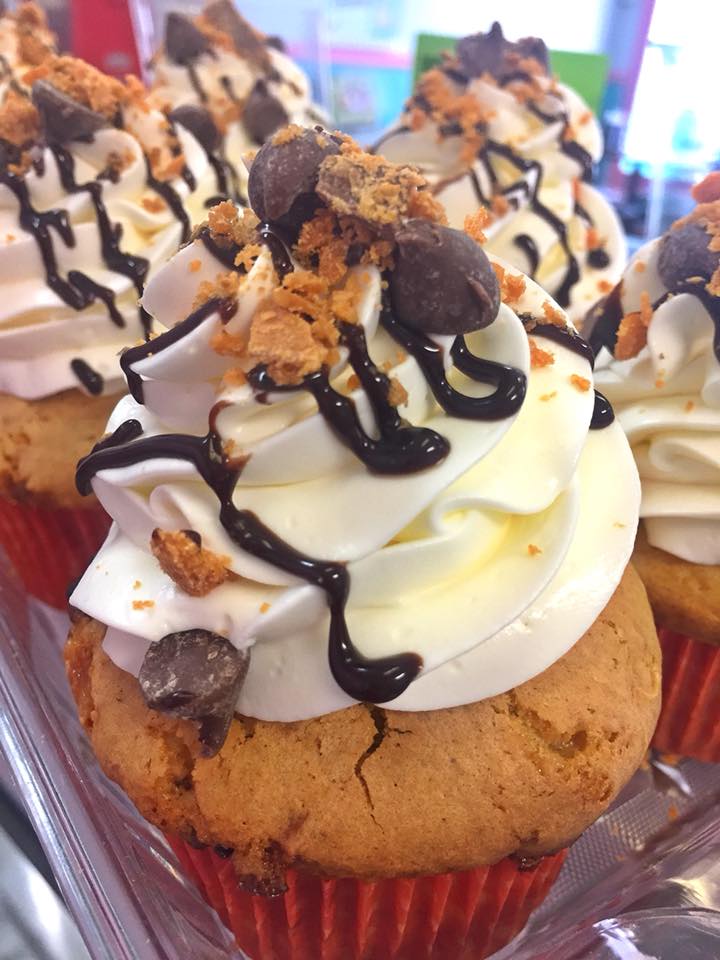
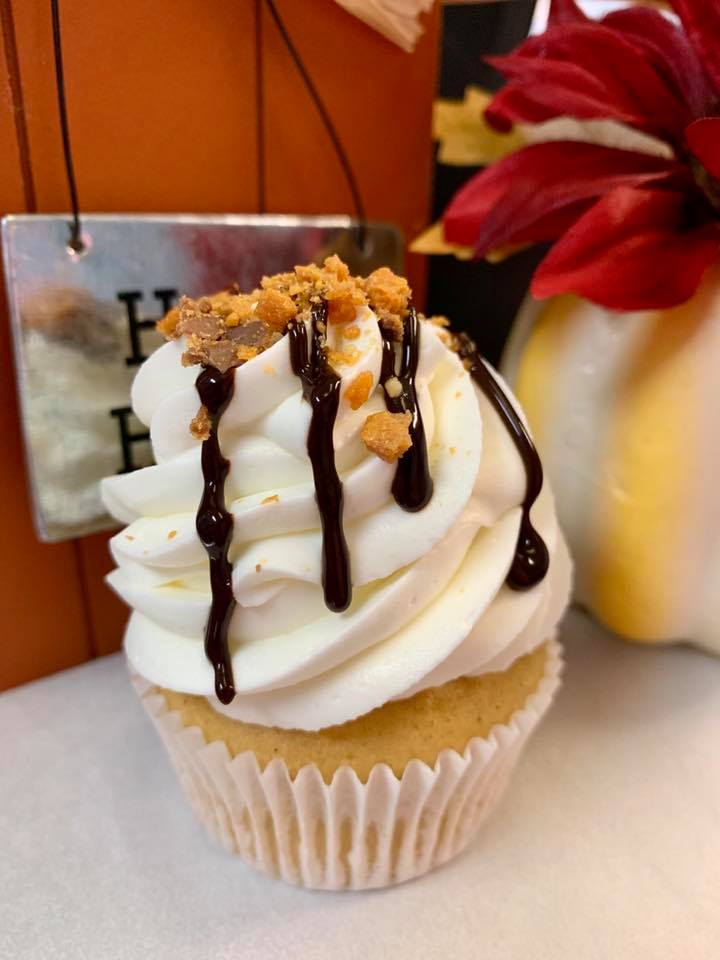
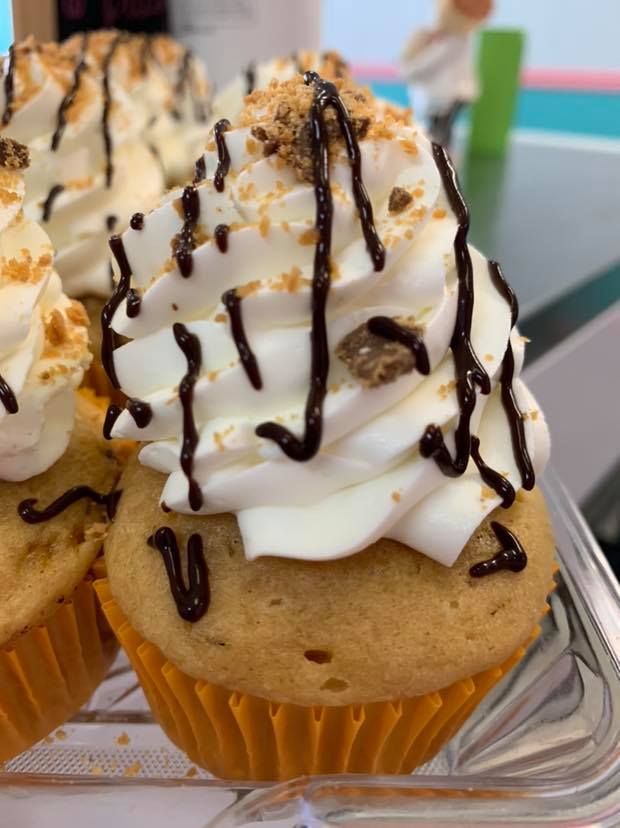
A Butterfinger cupcake is a delightful treat that combines the rich, chocolatey flavor of a cupcake with the irresistible crunch and peanut butter taste of Butterfinger candy. Imagine a soft, moist chocolate cupcake that’s filled with a creamy, peanut butter filling, topped with a buttery Butterfinger crumble. It’s like a candy bar and a cupcake came together to create the ultimate indulgence.
These cupcakes are perfect for parties, special occasions, or just as a fun baking project. Let’s break down the key elements:
Key Terms
- Cupcake: A small cake, usually baked in a paper liner, with a light and fluffy texture.
- Butterfinger: A peanut butter-flavored candy bar covered in chocolate, with a crunchy, flaky texture.
- Filling: A creamy center made with ingredients like peanut butter, cream cheese, or frosting that adds flavor and richness to the cupcake.
Materials Needed
Before we start baking, let’s gather everything we’ll need. Here’s a table to make sure you have all the ingredients and tools on hand:
| Ingredient | Quantity | Notes |
|---|---|---|
| All-purpose flour | 1 1/2 cups | For the cupcake base |
| Cocoa powder | 1/4 cup | Adds richness to the cupcake |
| Baking powder | 1 tsp | Helps the cupcakes rise |
| Sugar | 1 cup | Sweetens the batter |
| Unsalted butter | 1/2 cup | For the cupcake base |
| Eggs | 2 large | Bind the cupcake batter |
| Milk | 1/2 cup | Adds moisture to the batter |
| Vanilla extract | 1 tsp | For flavor |
| Peanut butter (creamy) | 1/2 cup | For the filling |
| Powdered sugar | 1/4 cup | Sweetens the filling |
| Cream cheese | 4 oz | Adds creaminess to the filling |
| Butterfinger bars (crushed) | 3 bars | Topping and filling |
Tools You’ll Need:
- Muffin tin and liners
- Electric mixer or whisk
- Mixing bowls
- A spoon or piping bag for filling
- A small food processor (optional, for crushing Butterfinger bars)
Step-by-Step Instructions
Now that we have everything ready, let’s start baking. Follow these steps to make your Butterfinger cupcakes with filling!
1. Preparing the Cupcake Batter
First things first, preheat your oven to 350°F (175°C) and line your muffin tin with paper liners.
- In a medium-sized bowl, mix the flour, cocoa powder, baking powder, and sugar.
- In a separate bowl, cream together the butter and eggs until smooth. Add the milk and vanilla extract and continue mixing until combined.
- Gradually add the dry ingredients to the wet ingredients and stir until smooth.
Tip: Don’t overmix the batter. Stir just until combined for light and fluffy cupcakes!
2. Baking the Cupcakes
Once your batter is ready, it’s time to bake.
- Fill each muffin liner about 2/3 of the way with the batter.
- Bake for 18-20 minutes or until a toothpick inserted into the center comes out clean.
- Allow the cupcakes to cool completely before filling.
Tip for Success: Let your cupcakes cool down completely before filling. This prevents the filling from melting or spilling out.
3. Making the Peanut Butter Filling
While the cupcakes are cooling, prepare the creamy peanut butter filling.
- In a bowl, beat together the peanut butter, powdered sugar, and cream cheese until smooth.
- If you like, you can add a pinch of salt for an extra kick.
- You should have a thick, creamy filling ready to go.
4. Filling the Cupcakes
Once the cupcakes are cool, use a knife or cupcake corer to create a hole in the center of each one. Be sure not to cut all the way through!
- Spoon the peanut butter filling into the hole, filling it generously.
- You can also use a piping bag for a more precise filling.
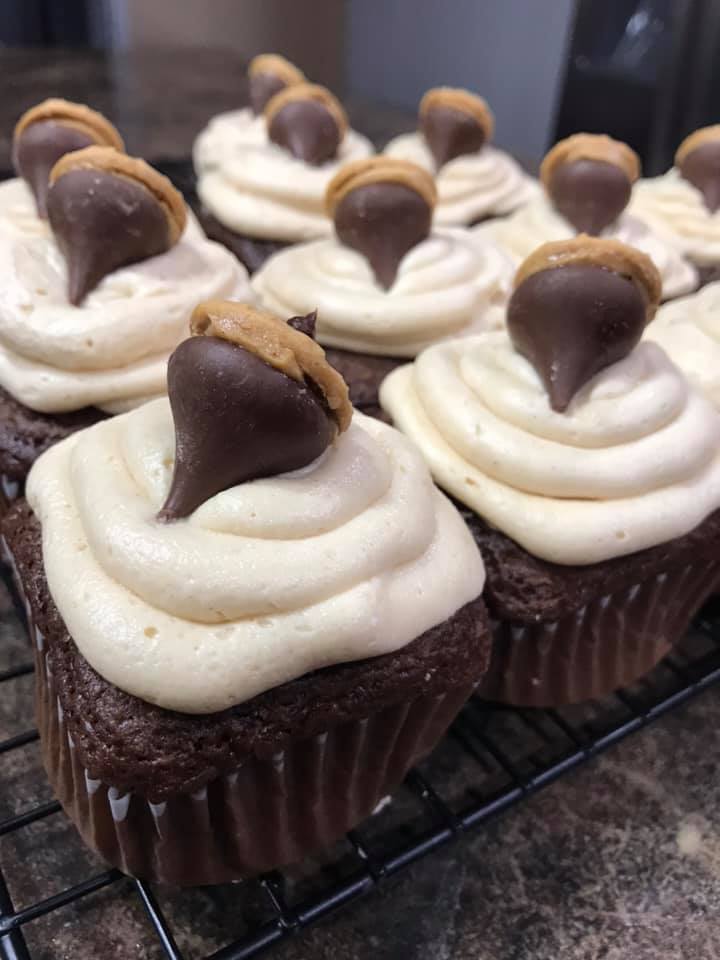
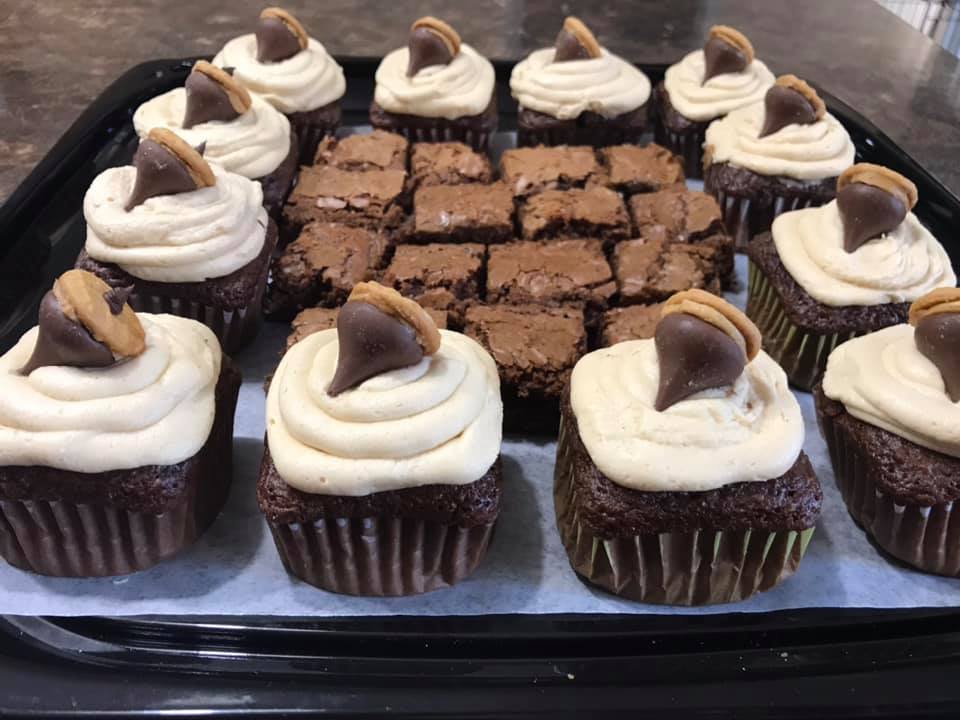
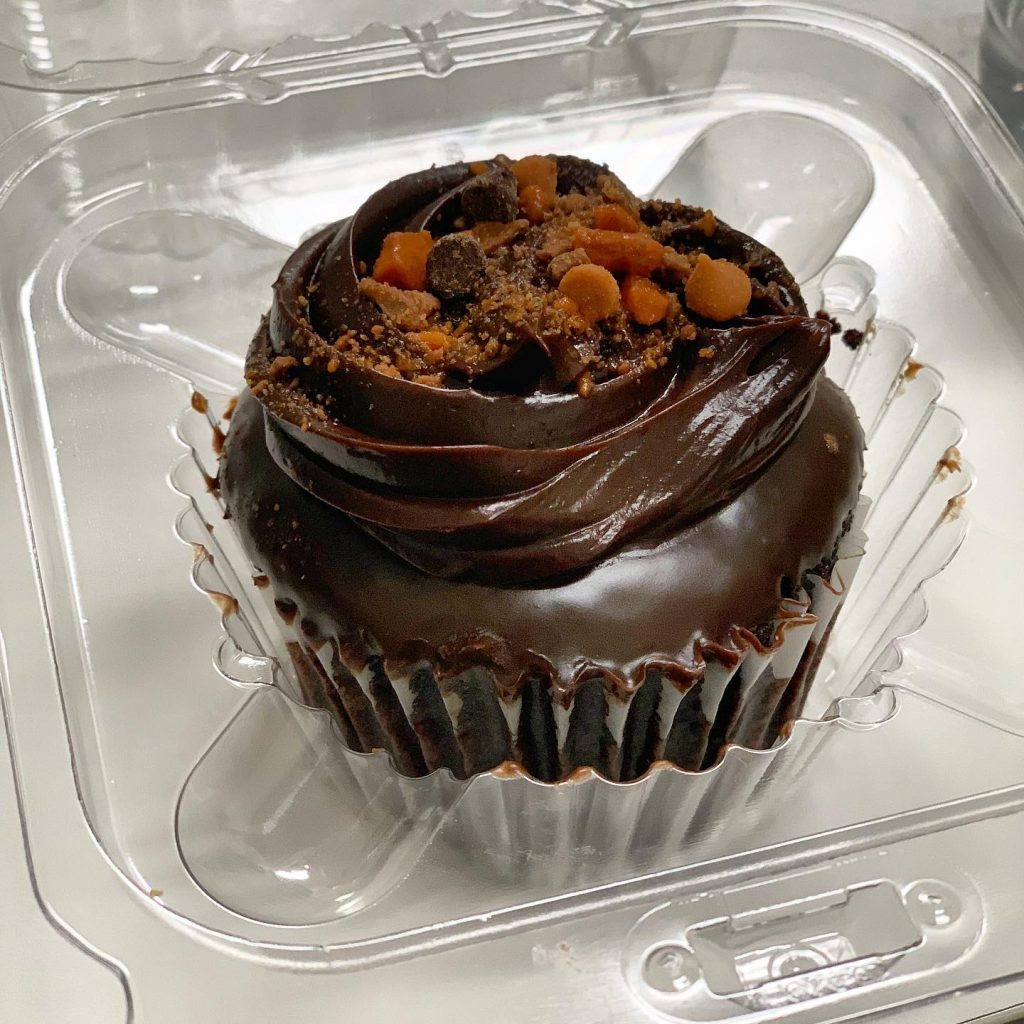
5. Adding the Butterfinger Topping
Now comes the fun part—topping the cupcakes!
- Crush your Butterfinger bars into small pieces using a food processor or by placing them in a plastic bag and crushing them with a rolling pin.
- Sprinkle the crushed Butterfinger pieces generously on top of each filled cupcake.
Tip: For an extra special touch, drizzle some melted chocolate over the Butterfinger topping.
Tips for Success
- Don’t skip the cooling time: Allowing your cupcakes to cool completely before adding the filling ensures that the filling stays in place and doesn’t melt.
- Use a piping bag: If you want to make the filling process a little cleaner, a piping bag with a wide tip can help you fill the cupcakes neatly.
- Fresh Butterfingers: Make sure your Butterfingers are fresh to get that perfect crunch. Old candy bars might not have the same crispness.
Common Mistakes and How to Avoid Them
- Overmixing the batter: This can lead to dense cupcakes. Mix just until combined for a light texture.
- Not cooling cupcakes properly: If the cupcakes aren’t fully cooled, the filling can melt and make a mess. Be patient!
- Too much filling: While it’s tempting to load up on the peanut butter filling, too much can cause it to spill out. Stick to a moderate amount.
Similar Variations You Can Try
If you want to try a few different twists on the classic Butterfinger cupcake, here are some ideas:
- Chocolate Peanut Butter Swirl: Add a swirl of melted chocolate to the peanut butter filling for an extra rich flavor.
- Reese’s Pieces Topping: Swap out the Butterfingers for crushed Reese’s Pieces for a different peanut butter candy crunch.
- Caramel Drizzle: Drizzle some caramel sauce over the cupcake for a sweet, buttery finish.
Conclusion
Butterfinger cupcakes with filling are a fantastic treat that combines rich flavors and satisfying textures. Whether you’re a novice baker or a seasoned pro, this recipe is simple and fun to follow. Enjoy the process and indulge in the results!
I hope you enjoy making these as much as I did. Don’t forget to share your thoughts or ask any questions in the comments below. Happy baking!